HO, HO, HO Everyone!
Christmas is the most beautiful time of the year and the Christmas stockings are great for embroidery.
Why not starting a Christmas stocking Challenge together with you?
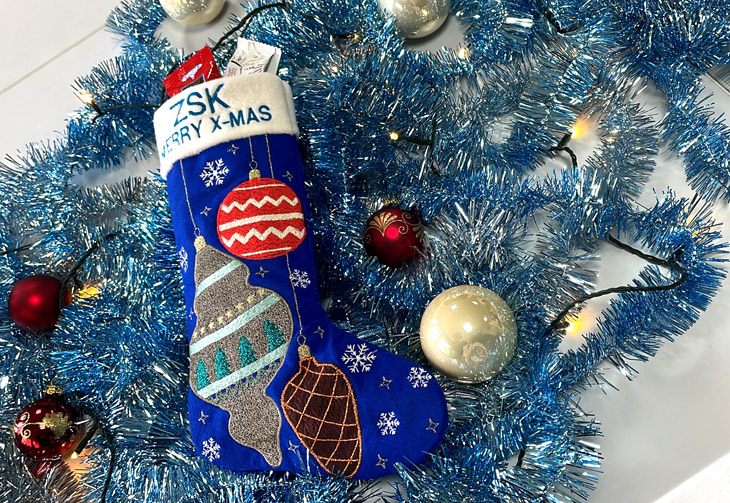
We already started with our ZSK Christmas stocking!
Be creative, digitize your own template and show us your individual Christmas stocking. Feel free to download our Christmas stocking pattern, if you want to make the whole stocking by yourself or just take a manufactured one and embroider it.
How to participate?
To participate you just have to upload a picture of your Christmas stocking on Instagram and link our @ZSK_digitizing.academy and use the hashtag #zsk_Christmaschallenge!
Among all participants a ZSK surprise box worth 100 Euros will be raffled! The winner will be chosen at a random generator by us.
Deadline for all entries is 12/16/2022!
On your marks, get set and show us your stockings!
Yours ZSK DIGITIZING ACADEMY
Download
Download a howto-guidance incl. a cutting template for a christmas stocking as PDF here:
Howto guidance and stocking template
GUIDANCE
- HOWTO EMBROIDER YOUR CHRISTMAS STOCKING ON A ZSK EMBROIDERY MACHINE
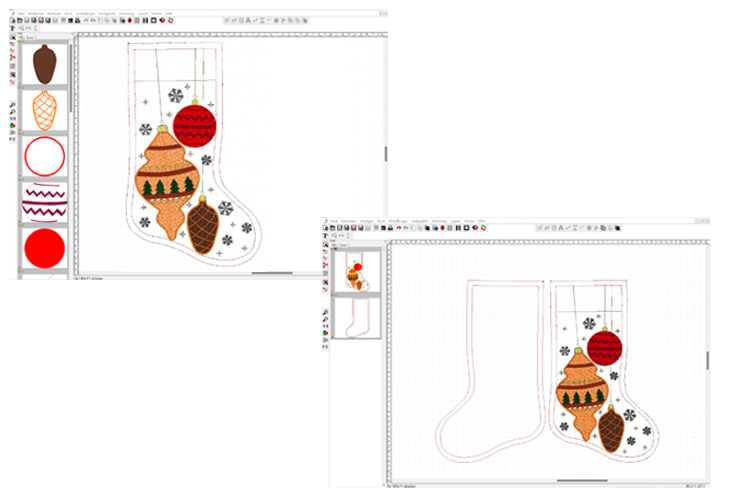
- 1. Create your own Christmas stocking design in BasePac.
- Feel free to use our Christmas stocking template.
- Please note: you need both outer contours of the Christmas stocking.
The easiest way is to digitze both lines with a running line.
- For the Christmas stocking you need the following 3 stitch files:
- your front design of stocking with cutting line
- mirrored file for backside outline
- contour file to join front and backside
Of course you can also put everything in one file and separate them with machine stop.
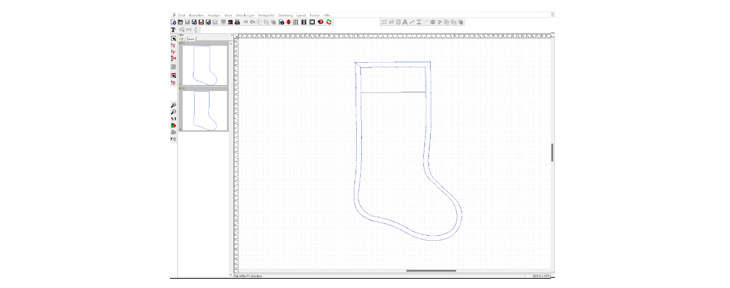
- 2. Set up your ZSK Embroidery Machine.
- You can use different materials such as felt.
- Use e.g. effective threads to make the embroidery look more Christmassy.
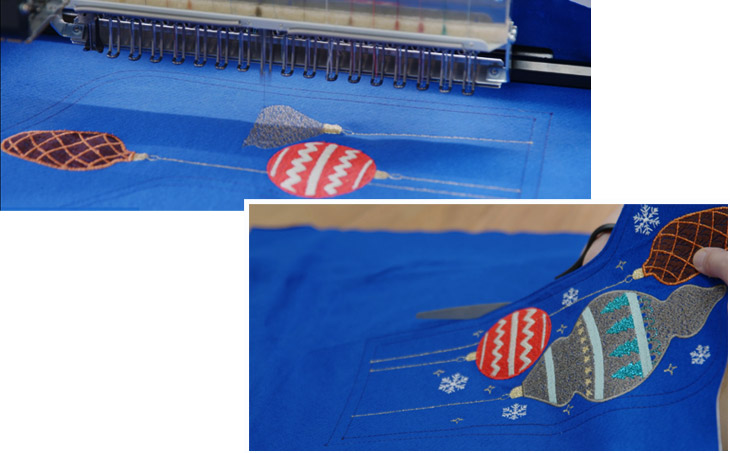
- 3. Embroider your Christmas stocking front side.
- First embroider the outer contour of your Christmas stocking because you will need it later.
- 4. Cut out your Embroidery.
- Cut the stocking along the outer contour.
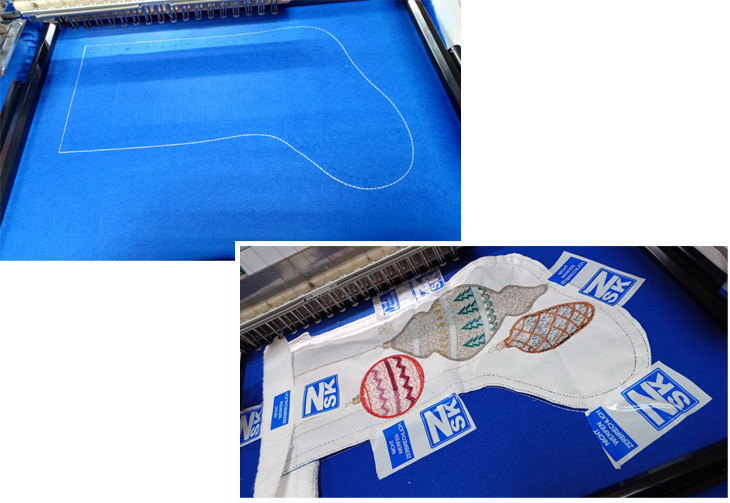
- 5. Embroider the backside of stocking and leave it on the machine.
- Take your mirrored file containing only the outer contour with the seam allowance.
It will also help you to position the front side in the next step.
- Take your mirrored file containing only the outer contour with the seam allowance.
- 6. Put the stockings on top of each other.
- Place the front side face-to-face on the back side.
- Both Contours have to fit together!
- Fix it on the seam allowance with e.g. adhesive tape or additional pins.
- If you want to make a flap on both sides, lay them down between the two fabrics and fix them too.
- 7. Embroider the seam to join both sides.
- Load the contour file and set up your machine.
- We recommend you to turn the machine on a lower speed e.g. 400 stitches/min.
- 8. Cut out your Christmas stocking and turn it inside out!


